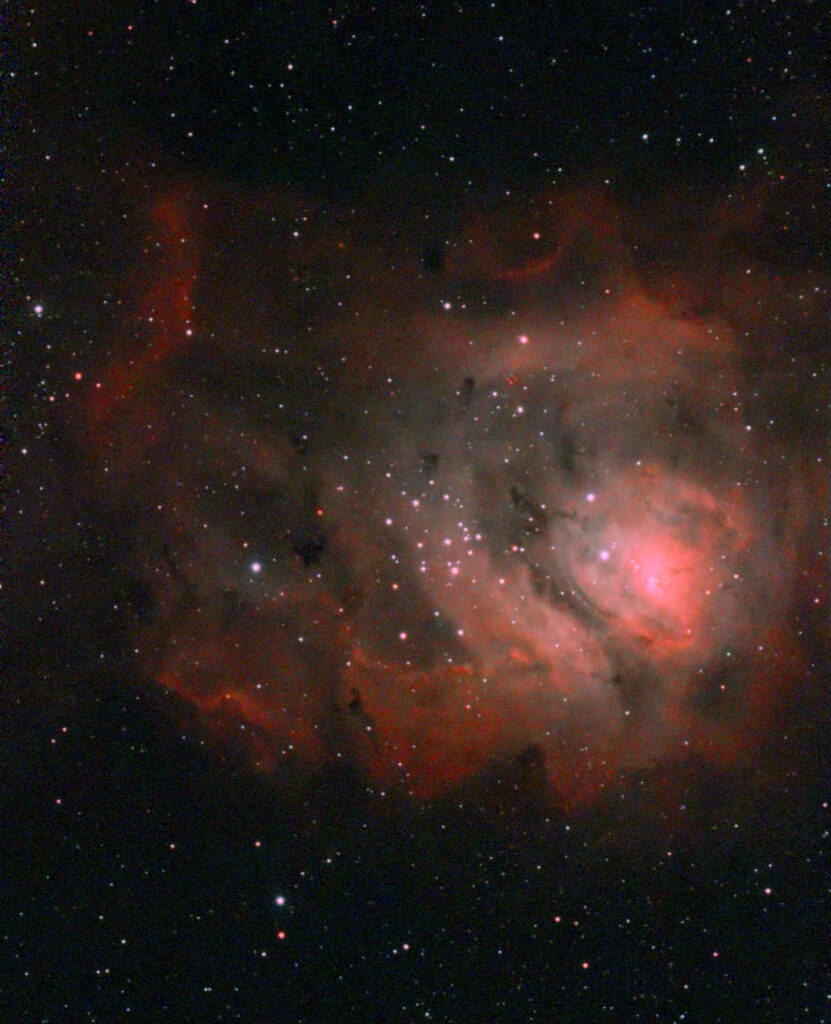
Astrophotography

What is Astrophotography?
In its simplest form, astrophotography is the art and science of photographing objects in space, such as stars, planets, moons, galaxies, and nebulae. It goes beyond simple point-and-shoot pictures of the night sky, requiring specialized techniques and equipment to capture the faint light of distant celestial objects.
It’s a hobby that blends technical skill with artistic creativity, allowing us to see details of the universe that are often invisible to the naked eye.
Key Challenges of Astrophotography
To understand why it requires special techniques, it’s important to know the challenges:
- Extreme Low Light: Celestial objects are incredibly faint. Capturing them requires long exposure times—from several seconds to many hours—to collect enough light.
- Earth’s Rotation: Because the Earth spins, stars appear to move across the sky (a phenomenon known as “star trailing”). If your camera shutter is open for too long on a stationary tripod, the stars will become streaks instead of sharp points.
- Atmospheric Turbulence: The Earth’s atmosphere distorts light, causing stars to “twinkle.” This can blur fine details, especially in planetary photography.
Essential Equipment
While you can start with very basic gear, serious astrophotography often involves:
- Camera: A DSLR or mirrorless camera with manual settings is the most common starting point. Dedicated astronomy cameras (which are cooled to reduce electronic “noise”) are used for advanced work.
- Lenses/Telescopes: A fast, wide-angle lens (e.g., f/2.8 or lower) is great for Milky Way landscapes. For deep-sky objects (galaxies, nebulae), a telescope acts as the camera’s lens.
- Sturdy Tripod: Absolutely essential for keeping the camera steady during long exposures.
- Star Tracker or Equatorial Mount: This is the key to solving the star-trailing problem. These motorized mounts rotate at the exact same speed as the Earth, but in the opposite direction, allowing your camera to track the stars and keep them as sharp points of light during long exposures.
- Other Accessories: Intervalometers (for remote shutter control), light pollution filters, and specialized software for processing are also commonly used.
Main Types of Astrophotography
Astrophotography can be broken down into several categories, ranging from simple to highly complex:
- Wide-Angle Nightscape Photography
- What it is: Capturing the night sky as part of a larger landscape. This includes iconic shots of the Milky Way arching over a mountain, a desert, or a interesting foreground object.
- Equipment: A DSLR/mirrorless camera, fast wide-angle lens, and a sturdy tripod. A star tracker can be used but is not always necessary.
- Goal: To create a beautiful, accessible image that combines the majesty of the cosmos with the beauty of our planet.
Deep-Sky Astrophotography (DSO)
- ·What it is: Photographing objects far outside our solar system—galaxies, nebulae, and star clusters. This is the most technically challenging and equipment-intensive branch.
- Equipment: Telescope, dedicated astronomy camera, sturdy equatorial mount, guide scope, filters, and a computer.
- Process: Involves taking very long exposures (often many hours total) and stacking them using software to reduce noise and bring out faint details.
- Examples: The Andromeda Galaxy, the Orion Nebula, the Ring Nebula.
Planetary Imaging
- What it is: Capturing our solar system’s planets (Jupiter, Saturn, Mars, etc.), the Moon, and the Sun (with a proper protective filter!).Equipment: Telescope, planetary camera or high-speed DSLR, and often a Barlow lens to increase magnification.
- Process: Unlike DSO imaging, this involves taking a high-frame-rate video. Software then analyzes thousands of frames, picks the sharpest ones (where the atmospheric distortion was minimal), and stacks them to create a incredibly detailed final image.
Solar System Photography
- What it is: A broader category that includes photographing lunar eclipses, solar eclipses, conjunctions (planets appearing close together), and comets.
The Crucial Step: Image Processing
A raw astrophoto straight from the camera often looks underwhelming—just a black frame with a few faint gray smudges. Post-processing is where the magic happens.
- Stacking: Specialized software (like DeepSkyStacker, Siril, PixInsight) aligns and combines multiple exposures. This dramatically improves the signal-to-noise ratio, revealing faint details and smoothing out grain.
- Editing: Software like Adobe Photoshop or PixInsight is then used to adjust curves, levels, and colors to stretch the data, bringing out the incredible structures and hues hidden within the stacked image.
How to Get Started
You don’t need a huge budget to begin:
- Use what you have: A modern smartphone on a tripod with a long-exposure app can capture star trails and the brighter constellations.
- Get a DSLR and tripod: Learn to shoot the Milky Way. Use the “500 Rule” (500 / focal length = max exposure before trailing) to keep stars sharp.
- Learn the basics: Understand manual mode—controlling ISO, aperture, and shutter speed yourself.
- Find dark skies: Light pollution is the astrophotographer’s biggest enemy. Traveling to a dark site makes an enormous difference.
- Practice processing: Learn to stack and edit your images to bring out their full potential.